

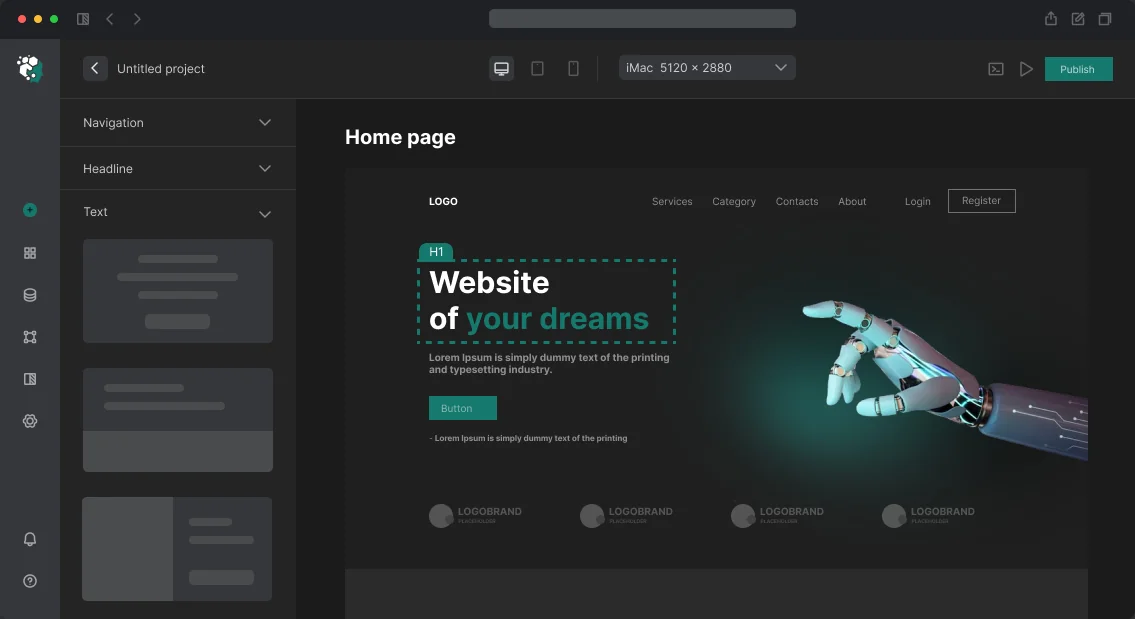
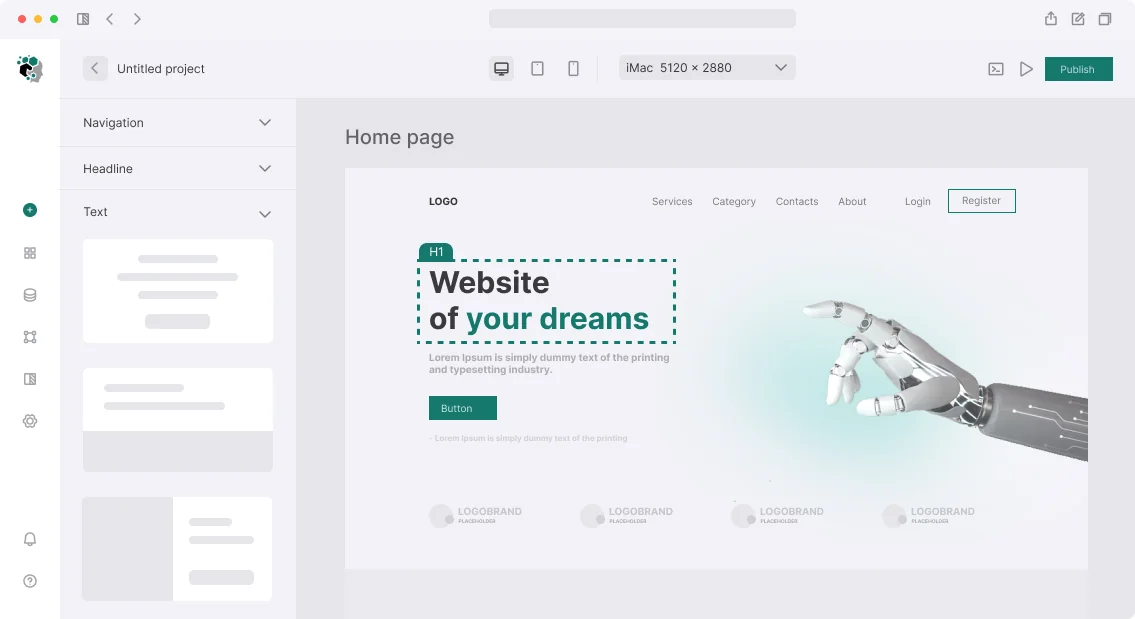



עורכי תוכן מתלוננים לעתים קרובות: כדי לתקן פסקה, צריך לפתוח את Sanity Studio, למצוא את השדה הנכון, לשמור, לעבור לאתר ולרענן את הדף. אובדן הקשר וזמן. אנחנו פותרים בעיה זו עם Sanity Visual Editing ו-Presentation Tool—מצב שבו עריכות נעשות ישירות על דף האתר.
Sanity Visual Editing הופך את האתר לממשק אינטראקטיבי עבור עורכים: לחיצה על טקסט פותחת את השדה המתאים ב-Sanity Studio, והשינוי מוחל באופן מיידי עם תצוגה מקדימה חיה. זו לא רק תצוגה מקדימה—זו עריכה אינטראקטיבית מלאה. לפי ההערכה שלנו, הגדרה זו מקצרת את זמן עריכת התוכן ב-60%, ובפרויקטים עם מספר מחברים, פרודוקטיביות הצוות עולה ב-30-40%.
כיצד Visual Editing מאיץ את עבודת העורך?
בלב הטכנולוגיה נמצאים Content Source Maps. כאשר אתה מבקש נתונים דרך next-sanity עם הדגל stega: true, Sanity מזריק מטא-דאטה בלתי נראה למחרוזות. הם מציינים מאיזה מסמך ושדה מגיע הטקסט. Visual Editing קורא את הסממנים האלה בעת לחיצה על אלמנט ופותח את השדה המתאים ב-Studio. העורך לא צריך לחפש קטע או מסמך—הכל קורה בהקשר של הדף.
גישה זו מהירה יותר מאשר Preview קלאסי, הדורש טעינת דף מלאה וחיפוש שדה ידני. Visual Editing עובד דרך iframe ו-WebSocket—שינויים מופיעים תוך 200-300 אלפיות השנייה. השתמשנו בהגדרה זו ביותר מ-10 פרויקטים, וזמן העריכה ירד ב-60% בממוצע. לפי תיעוד Sanity Visual Editing, Content Source Maps הם המנגנון המרכזי לקישור נתונים עם העורך החזותי.
מדוע Content Source Maps הם הבסיס ל-Visual Editing?
Content Source Maps מוסיפים מטא-דאטה לתגובת ה-API על מקורו של כל שדה. כאשר stega מופעל, מחרוזות תוכן מכילות תווים בלתי נראים עם מידע על הסכמה, המסמך והנתיב. Visual Editing קורא את הסממנים האלה בעת לחיצה על אלמנט ויודע בדיוק איזה שדה לפתוח ב-Studio. זה מבטל חיפוש ידני—העורך לוחץ על טקסט בדף ומיד מגיע לשדה הנכון. ללא Content Source Maps, Visual Editing היה רק תצוגה מקדימה ללא אינטראקטיביות.
מידע נוסף על הגדרת stega
כדי ש-Visual Editing יעבוד, יש להפעיל stega בצד הלקוח. בלעדיו, העורך יכול רק לצפות אך לא ללחוץ על אלמנטים. הנה דוגמה להגדרה:
// lib/sanity/client.ts
import { createClient } from 'next-sanity'

const client = createClient({
  projectId: process.env.NEXT_PUBLIC_SANITY_PROJECT_ID!,
  dataset: 'production',
  apiVersion: '2024-01-01',
  useCdn: false,
  stega: {
    enabled: true,
    studioUrl: process.env.NEXT_PUBLIC_SANITY_STUDIO_URL!,
  },
})
לתצוגה מקדימה חיה עם WebSocket אנו משתמשים ב-// lib/sanity/client.ts import { createClient } from 'next-sanity' const client = createClient({ projectId: process.env.NEXT_PUBLIC_SANITY_PROJECT_ID!, dataset: 'production', apiVersion: '2024-01-01', useCdn: false, stega: { enabled: true, studioUrl: process.env.NEXT_PUBLIC_SANITY_STUDIO_URL!, }, }) . חבילה זו מחברת את defineLive ומעדכנת נתונים אוטומטית כאשר יש שינוי ב-Studio. העורך רואה עריכות בזמן אמת ללא טעינה מחדש.
שלב 1: הגדרת Studio
התקן את התוסף useOptimistic והגדר את @sanity/presentation תוך ציון המקור והמסלולים עבור Draft Mode. דוגמה להגדרה:
// sanity.config.ts
import { presentationTool } from '@sanity/presentation'

export default defineConfig({
  plugins: [
    structureTool(),
    presentationTool({
      previewUrl: {
        previewMode: {
          enable: '/api/draft-mode/enable',
          disable: '/api/draft-mode/disable',
        },
        origin: process.env.SANITY_STUDIO_PREVIEW_URL || 'http://localhost:3000',
      },
    }),
  ],
})
שלב 2: יישום Draft Mode ב-Next.js
צור מסלולי API previewUrl ו-// sanity.config.ts import { presentationTool } from '@sanity/presentation' export default defineConfig({ plugins: [ structureTool(), presentationTool({ previewUrl: { previewMode: { enable: '/api/draft-mode/enable', disable: '/api/draft-mode/disable', }, origin: process.env.SANITY_STUDIO_PREVIEW_URL || 'http://localhost:3000', }, }), ], }) , תוך שימוש ב-/api/draft-mode/enable כדי לאמת את הטוקן הסודי.
// app/api/draft-mode/enable/route.ts
import { validatePreviewUrl } from '@sanity/preview-url-secret'
import { client } from '@/lib/sanity/client'
import { draftMode } from 'next/headers'
import { redirect } from 'next/navigation'

export async function GET(req: Request) {
  const { isValid, redirectTo = '/' } = await validatePreviewUrl(
    client.withConfig({ token: process.env.SANITY_API_TOKEN! }),
    req.url
  )

  if (!isValid) {
    return new Response('Invalid secret', { status: 401 })
  }

  draftMode().enable()
  redirect(redirectTo)
}
// app/api/draft-mode/disable/route.ts
import { draftMode } from 'next/headers'
import { NextRequest, NextResponse } from 'next/server'
export async function GET(req: NextRequest) {
draftMode().disable()
return NextResponse.redirect(new URL('/', req.url))
}שלב 3: חיבור הלקוח
הוסף את /api/draft-mode/disable ל-layout, הגדר את validatePreviewUrl ו-// app/api/draft-mode/enable/route.ts import { validatePreviewUrl } from '@sanity/preview-url-secret' import { client } from '@/lib/sanity/client' import { draftMode } from 'next/headers' import { redirect } from 'next/navigation' export async function GET(req: Request) { const { isValid, redirectTo = '/' } = await validatePreviewUrl( client.withConfig({ token: process.env.SANITY_API_TOKEN! }), req.url ) if (!isValid) { return new Response('Invalid secret', { status: 401 }) } draftMode().enable() redirect(redirectTo) } לעדכונים חיים.
מה כלול בהגדרה?
אנו מספקים מחזור עבודה מלא—מביקורת ועד פריסה עם הדרכת עורכים:
| שלב | מה אנחנו עושים | תוצאה |
|---|---|---|
| ביקורת פרויקט | בדיקת סכמה, ניתוב, גרסאות חבילות | דוח עם המלצות |
| עיצוב | קביעה היכן נדרש Visual Editing, אילו שדות | תוכנית אינטגרציה |
| הגדרת Studio | התקנת Presentation Tool, הגדרת תצוגה מקדימה | ממשק עריכה עובד |
| אינטגרציית Frontend | הוספת Draft Mode, VisualEditingProvider, תצוגה מקדימה חיה | תצוגה מקדימה אינטראקטיבית |
| בדיקות | בדיקת כל התרחישים: אורח, עורך, מנהל | רשימת בדיקות עברה |
| פריסה | הגדרת שרת דמו, CI/CD, משתני סביבה | ייצור עובד |
| הדרכה | תיעוד ו-1-2 מפגשים עם עורכים | צוות מוכן לעבודה |
השוואה עם חלופות:
| קריטריון | Sanity Visual Editing | תצוגה מקדימה רגילה |
|---|---|---|
| זמן תגובה | 200-300 אלפיות השנייה (WebSocket) | 2-3 שניות (טעינה מחדש) |
| הקשר | העורך רואה את האתר, לוחץ על אלמנט | צריך למצוא שדה ב-Studio |
| עומק עריכות | כל אלמנט, כולל תמונות | רק טקסט או בלוקים |
| תמיכה בשינויים | זמן אמת באמצעות useOptimistic | דורש רענון ידני |
לוחות זמנים וניסיון
הגדרת Visual Editing עם Presentation Tool ו-Draft Mode אורכת בין יום ליומיים עבור פרויקט טיפוסי. עבור פרויקטים מורכבים, לוח הזמנים עשוי להתארך ל-3–5 ימים. העלות מחושבת באופן אישי—אנו מעריכים את הפרויקט שלך ביום עבודה אחד.
הזמן מאיתנו הגדרת Visual Editing—אנו מבטיחים אינטגרציה נכונה בזכות ניסיון של 10+ שנים ו-50+ אינטגרציות CMS מוצלחות. פשוט צור קשר דרך מסנג'ר או דוא"ל—נשלח דוגמת יישום עבור הפרויקט שלך.